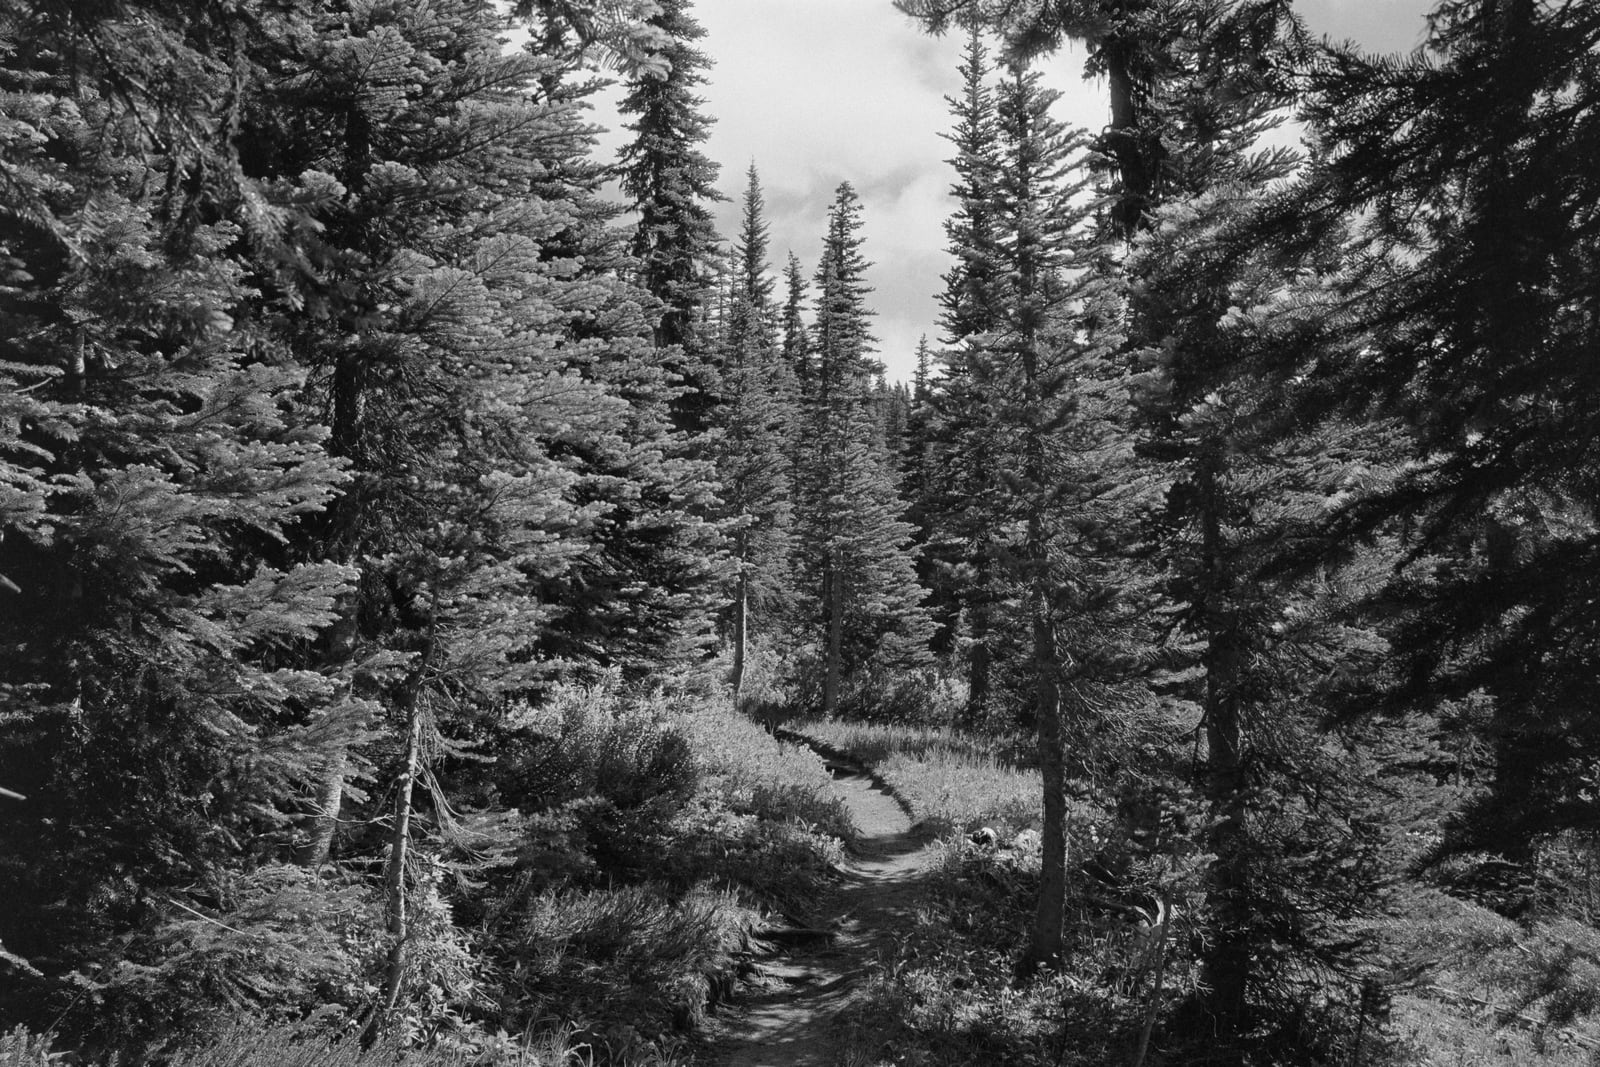
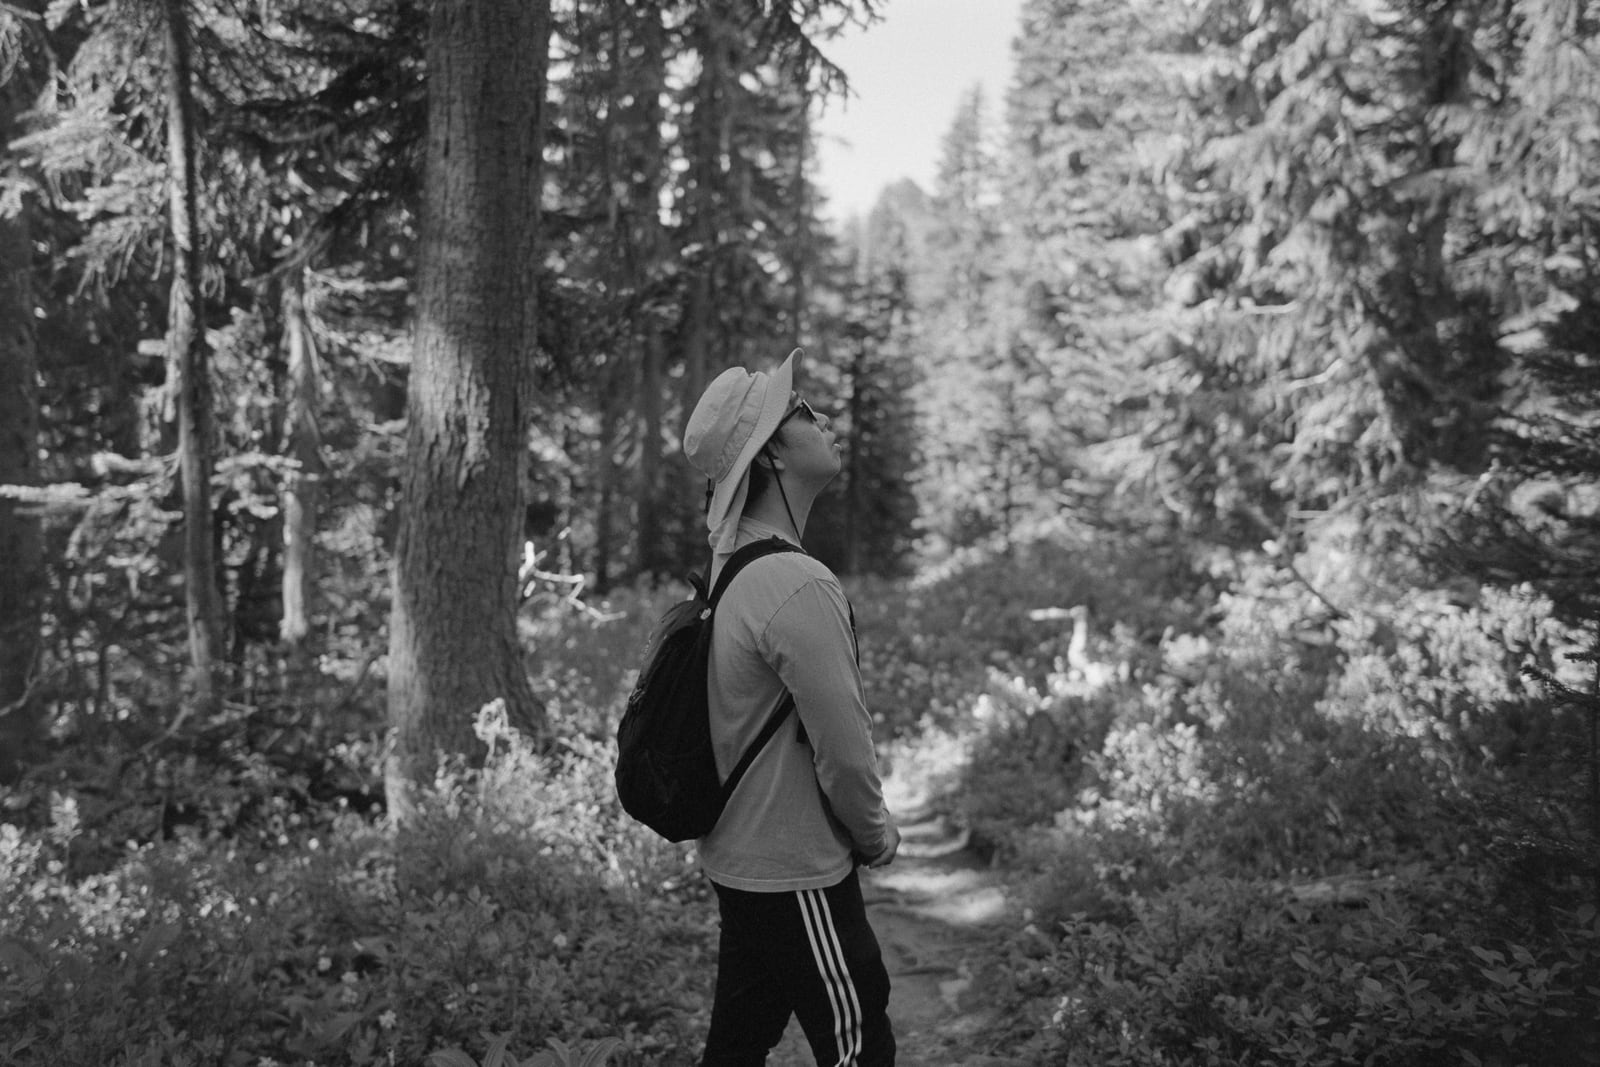
I’ve been experimenting with doing my own development for black and white film. Before I would drop it off to the film lab, pay a fee, and wait until they processed everything before driving back to the store to pick up my negatives and scans. To save money and speed up the process I eventually started scanning my own film. Now I’ve also begun to develop my own film as well. So for black and white film I can own the entire film process end to end.
Color is a bit trickier and less accessable to develop at home, so I continue to get labs to develop the film for me. But I still scan everything myself.
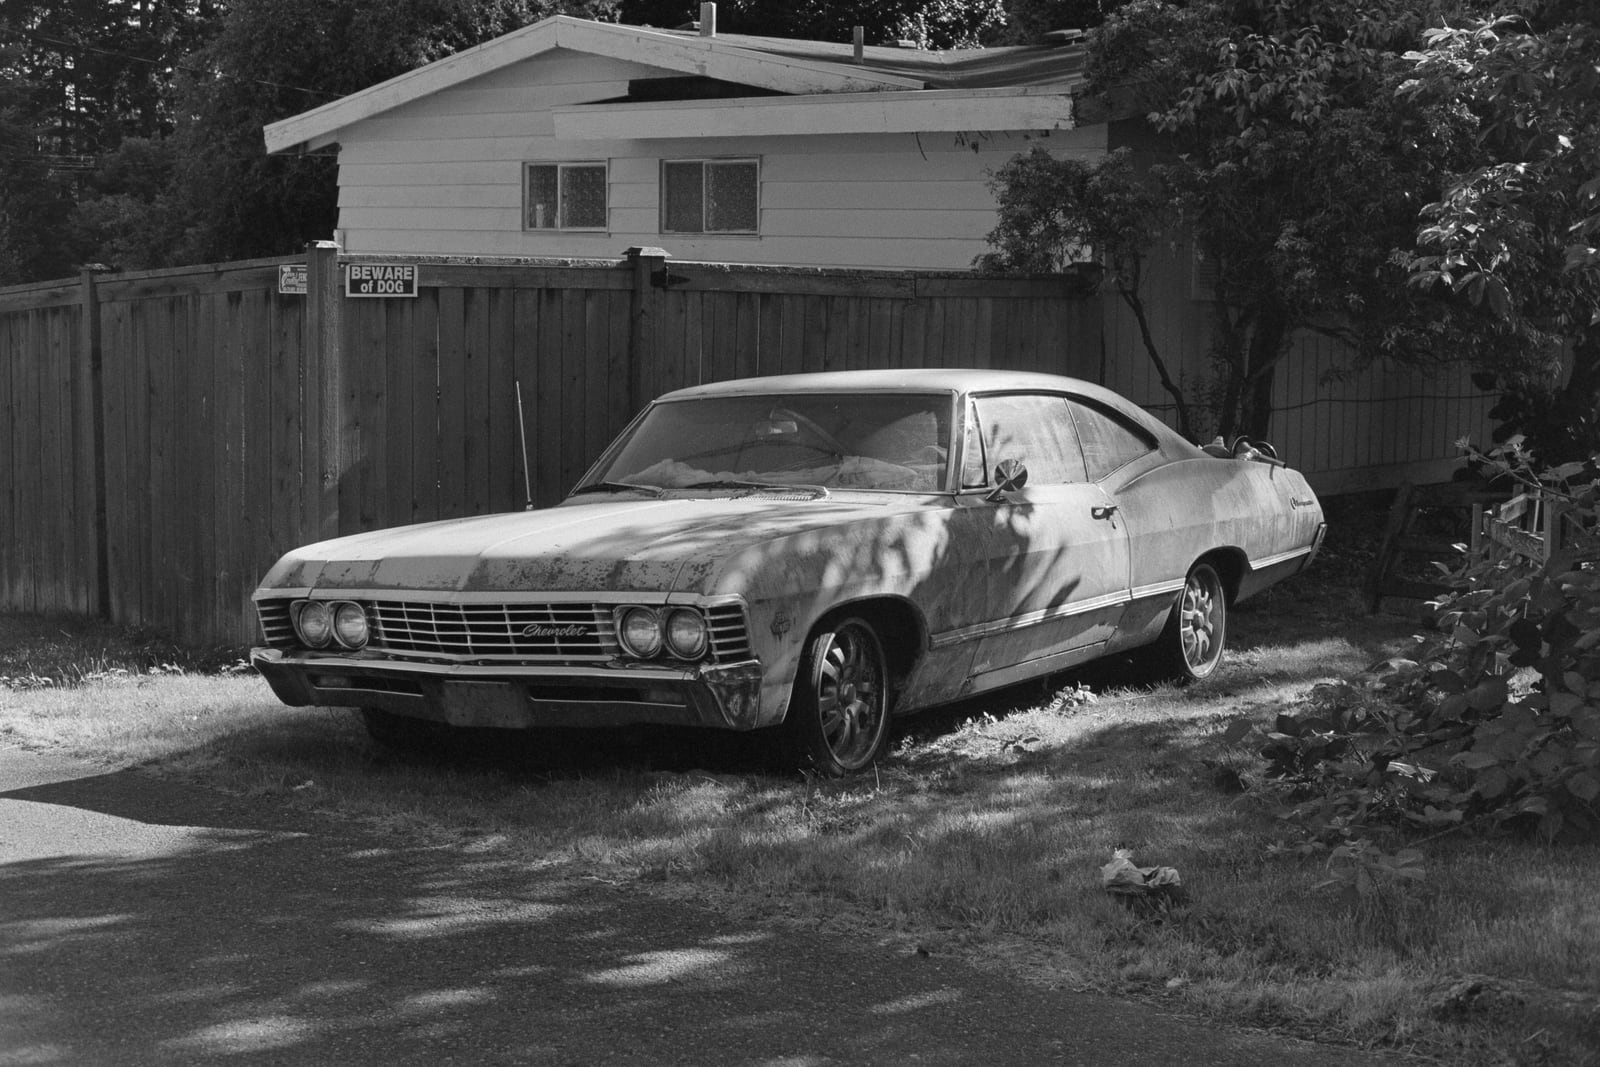
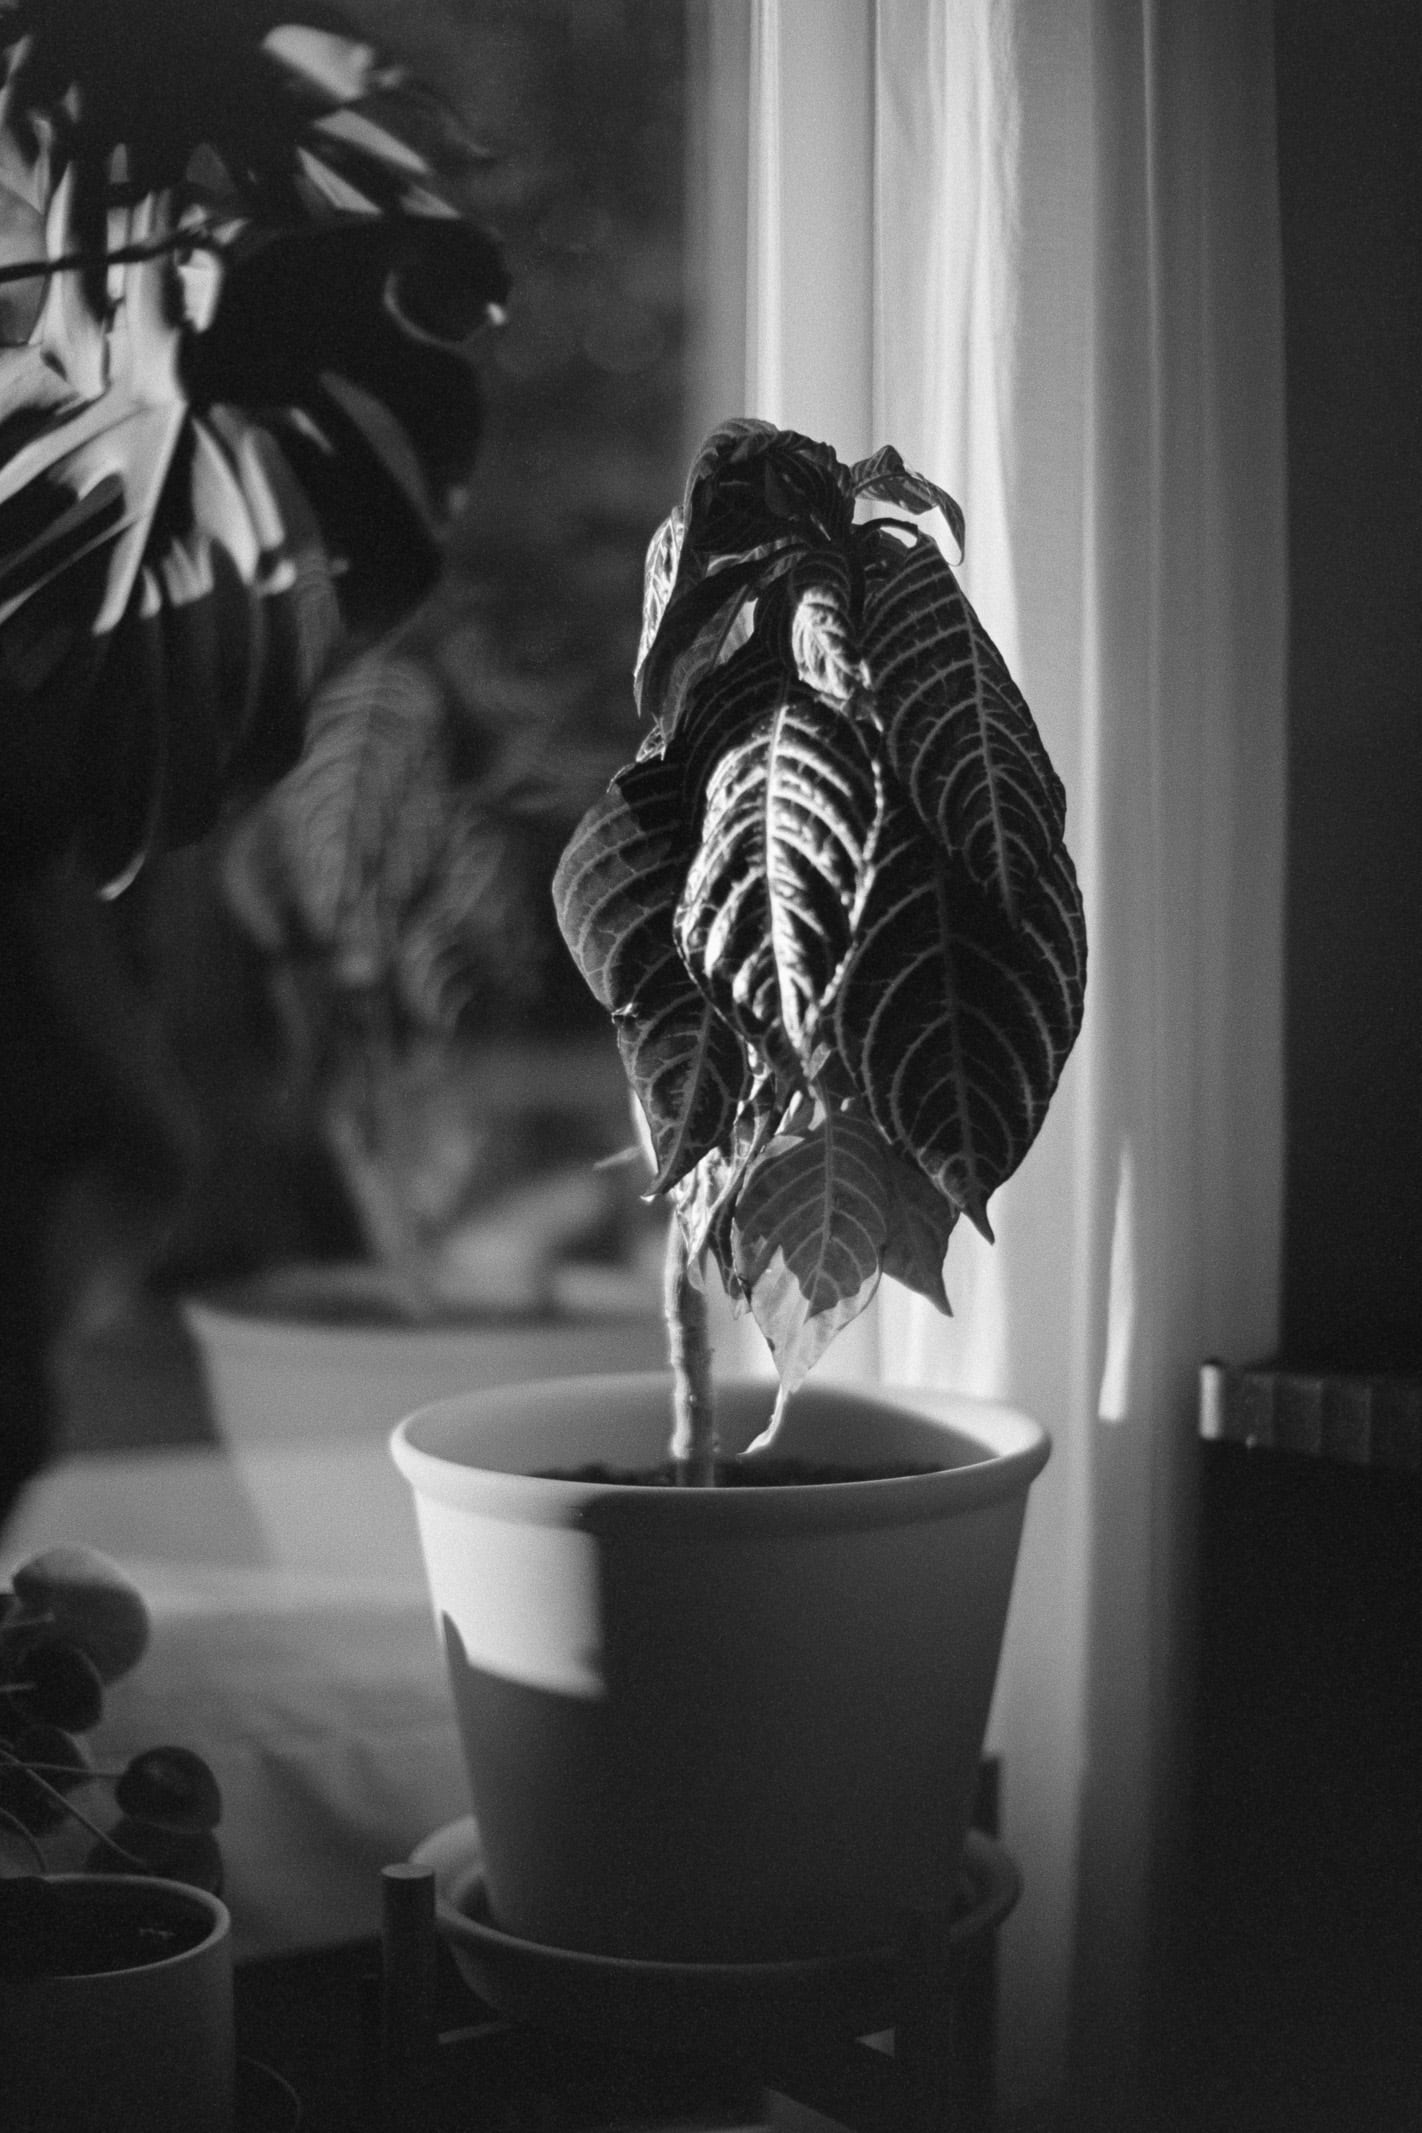
The other nice thing about scanning is that I get much better quality images out of the scans. Before I was paying roughly $8 a roll to get 1-2 MB scans for each picture. In order to get higher quality I would have had to fork over almost double the price.
I scan with Valoi Easy35 and DSLR setup. The process is pretty simple, I use a macro lens to take a picture of each negative. Then I import it into Lightroom and use NLP software to invert the images.
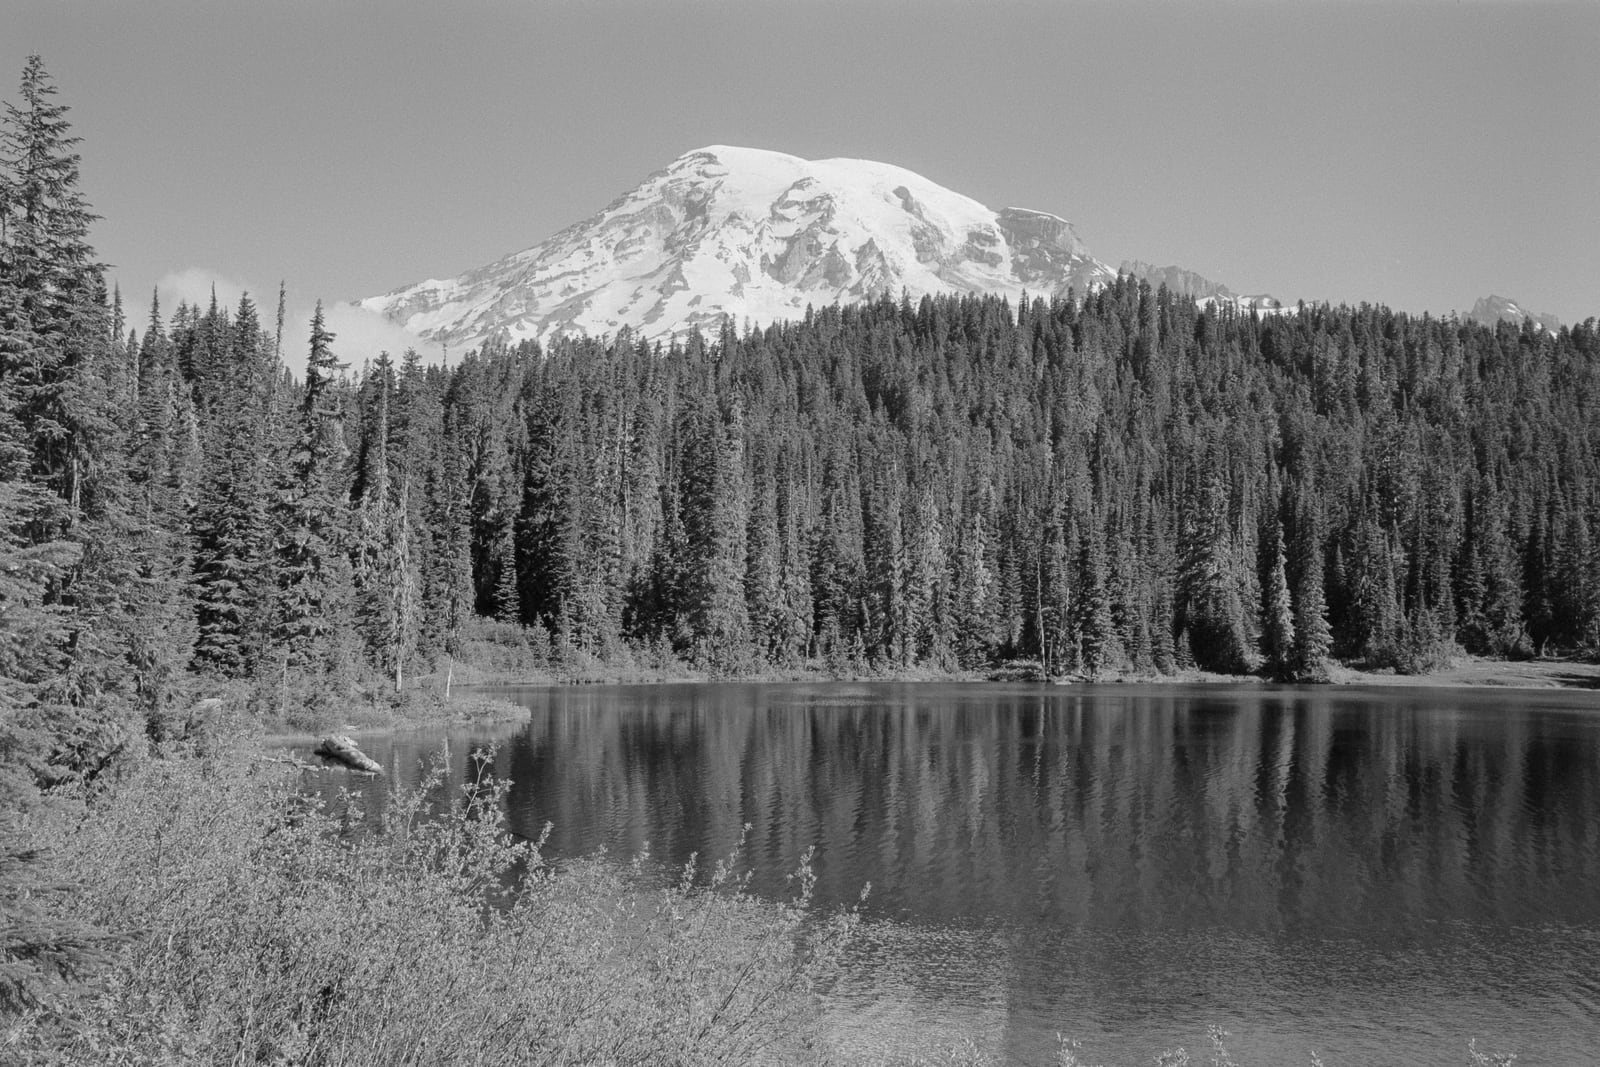
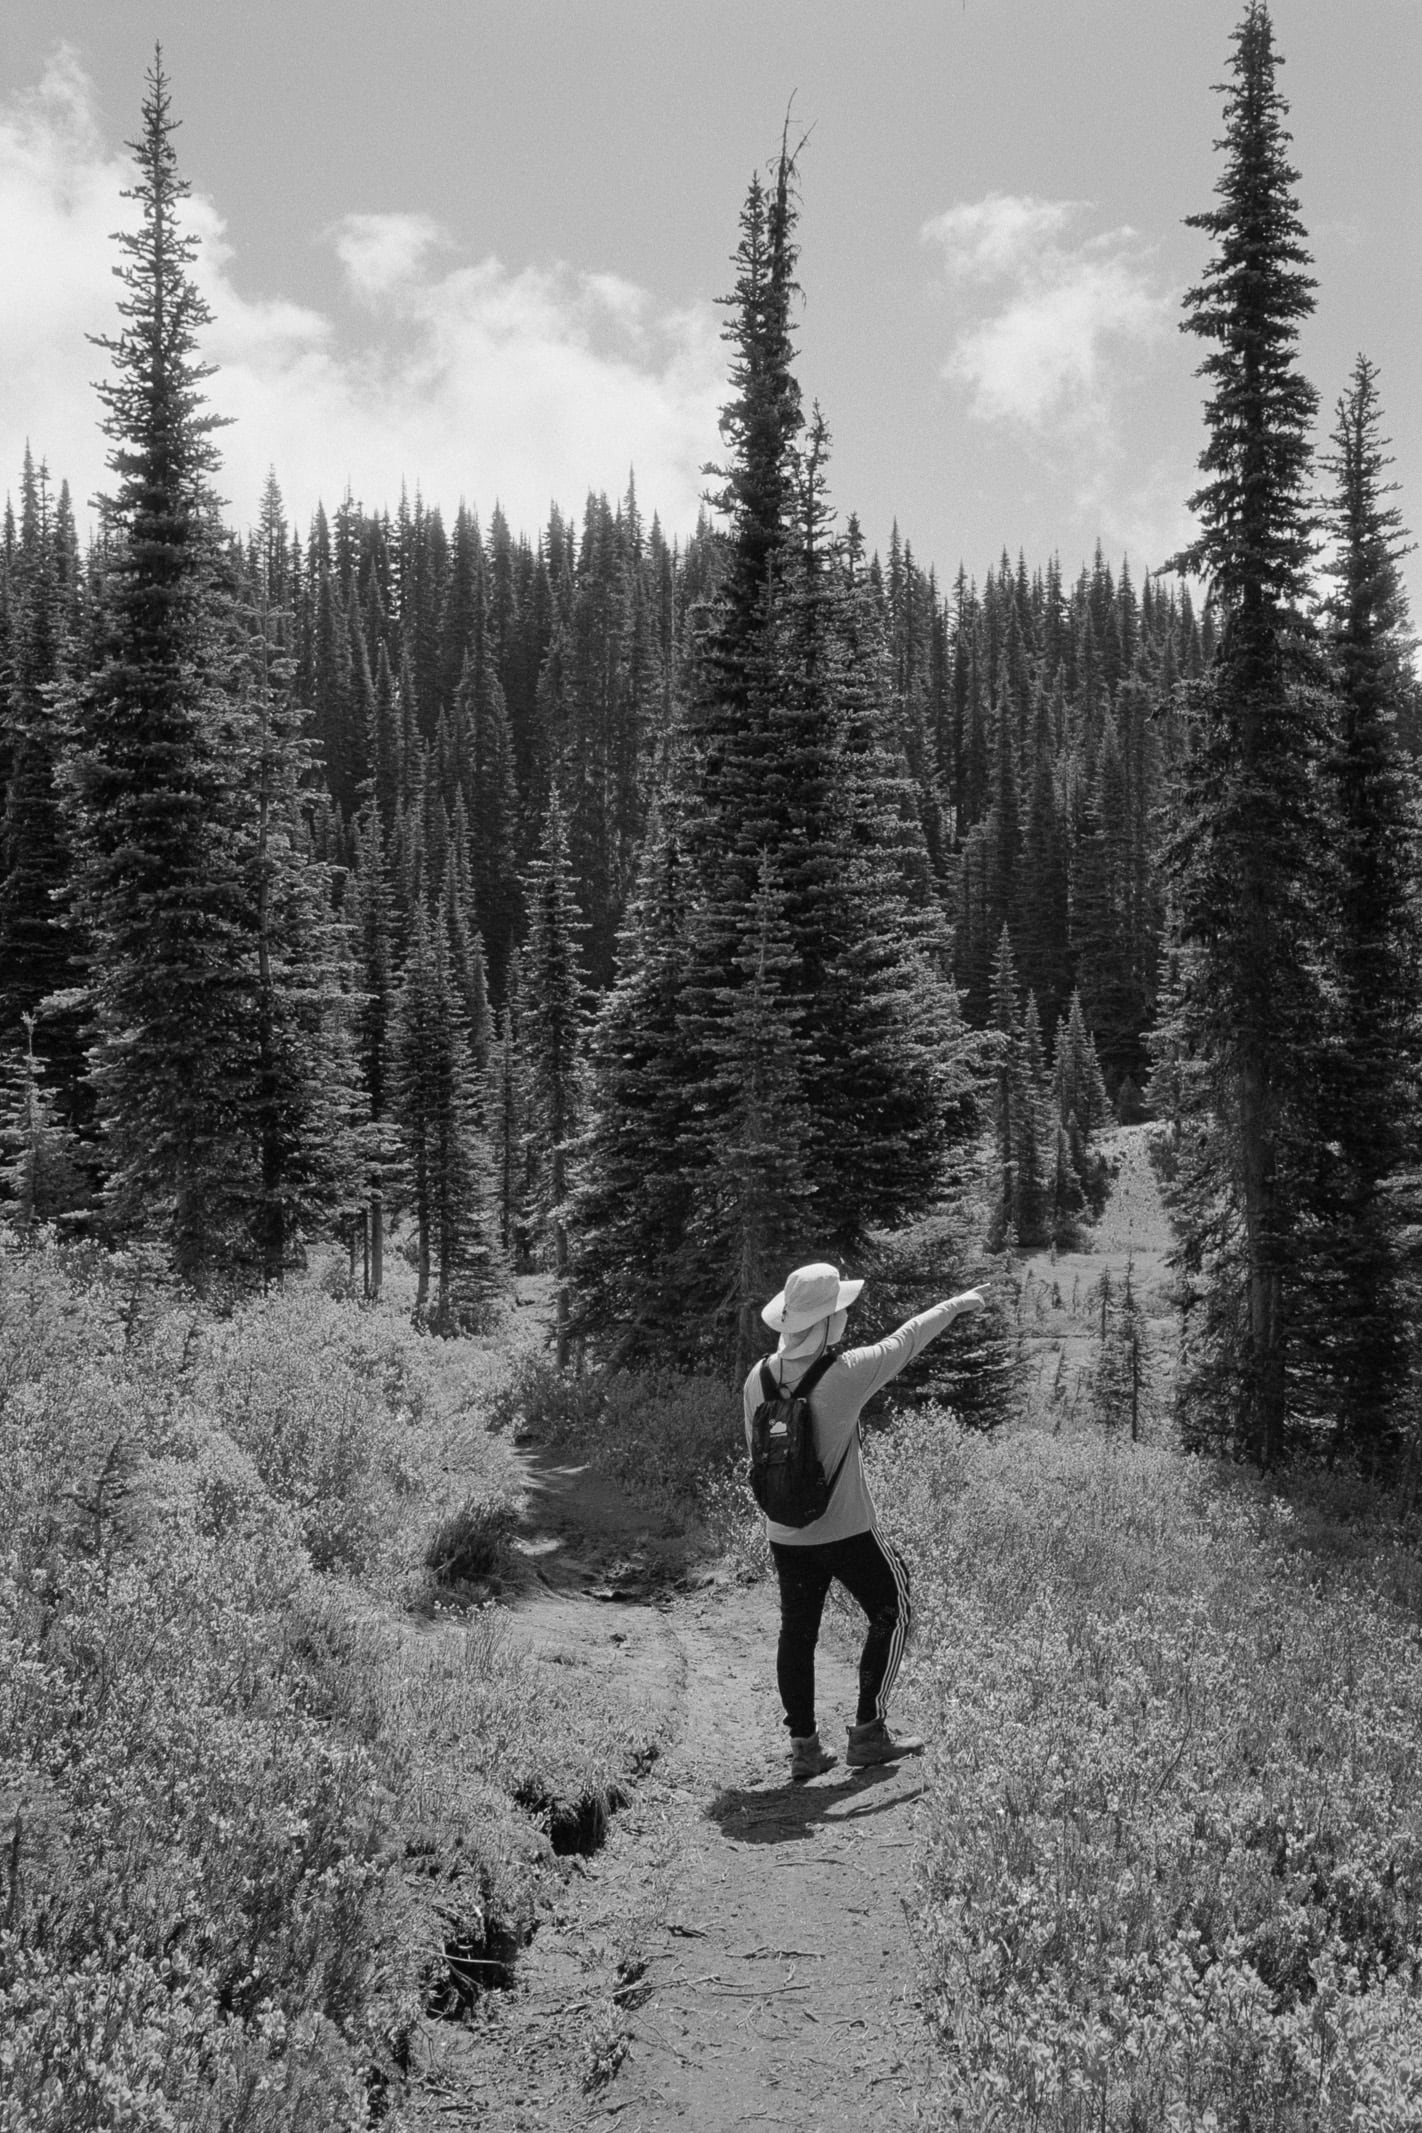
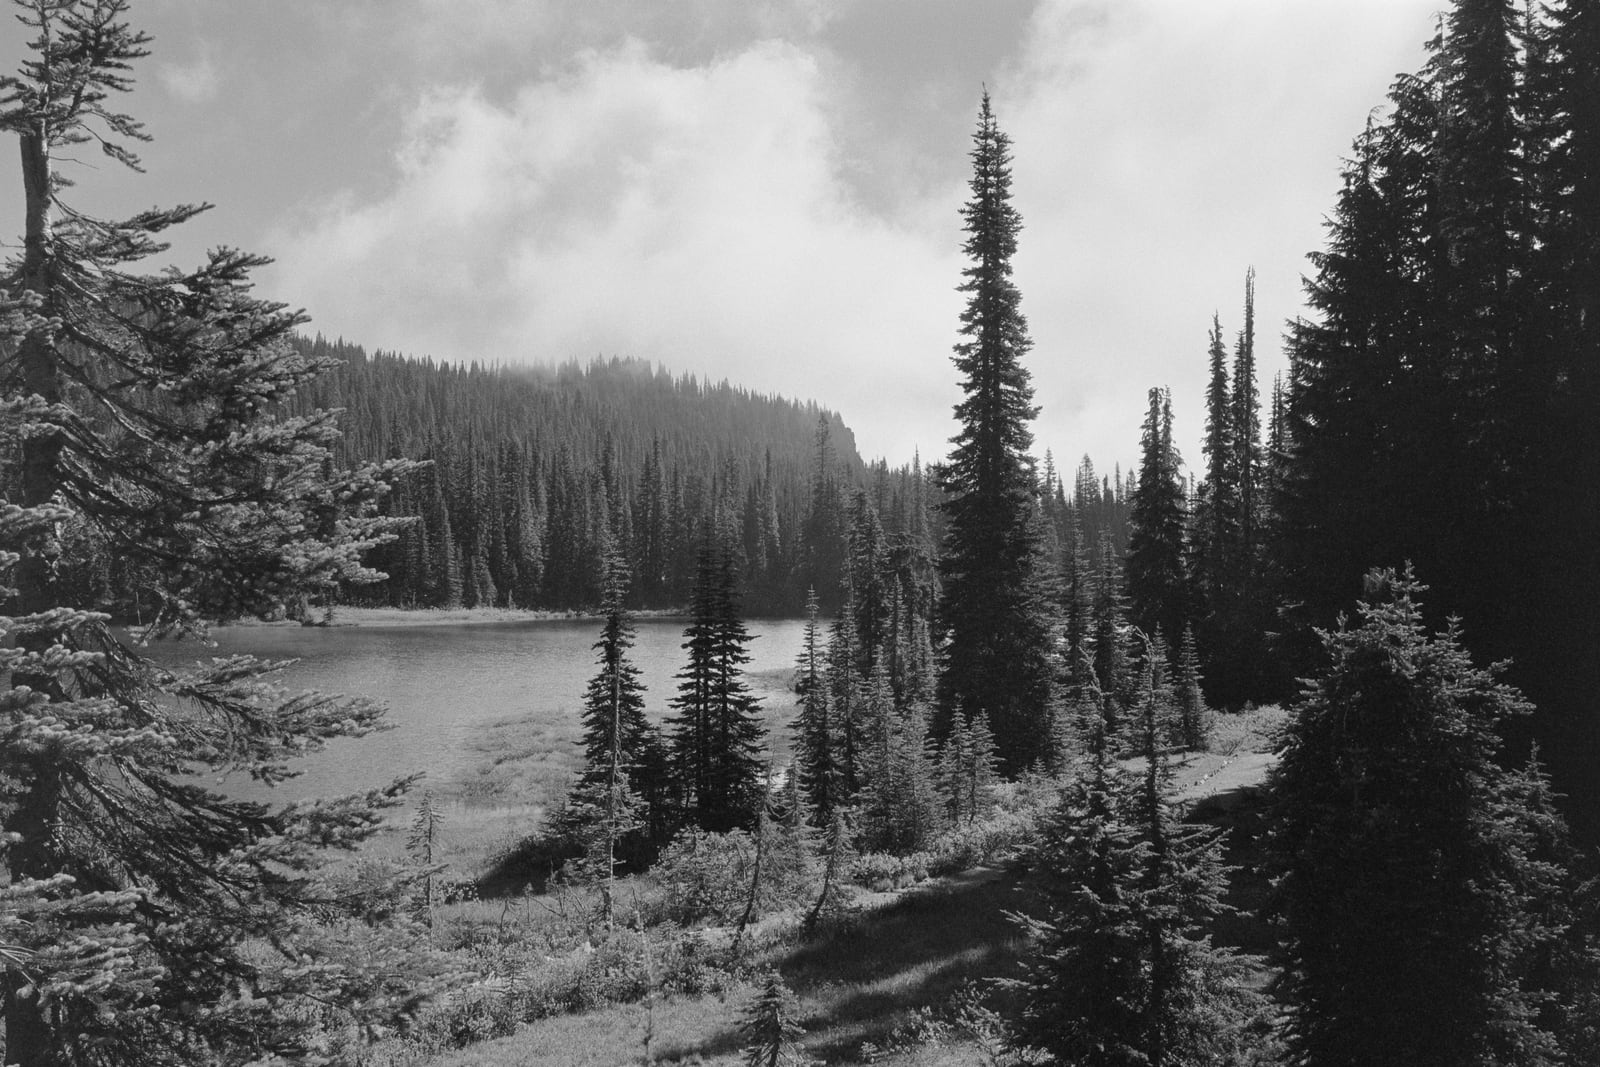
Mt. Rainier National Park
There’s an upfront cost to buying all this equipment (Valoi Easy35, NPL software, etc.) but once you have it and have dialed in the process scanning becomes free, you only have to pay the lab to process the negatives. It halved the cost of getting my film processed at the lab since I don’t have to pay for them to scan it anymore.
Developing black and white film is a separate story. I think more people do it out of joy of the process itself than as a cost saving measure. It does save money but it’s a more involved process, you have to deal with chemicals, some of which cannot be disposed by simply flushing them down the drain. Developer, fixer goes bad after a while and you have to buy more. Getting the film into the development tank can be a hassle since you need to ensure the film is not exposed to any light during the process, or else your negatives are ruined. Luckily I have a spare bathroom with no windows, so I’ve been turning off all the lights near it and shutting the door which gives me near complete darkness.
There’s more room for error with development. I’ve definitely made a few mistakes in the beginning. At the beginning I scratched a roll because I wasn’t good at putting it on the film reel. I’ve also struggled with water marks and stains on many rolls.
But I think I’m finally at the point where I’ve dialed down my process and am getting good results. So I want to share exactly what that is, hopefully others can benefit or it can help pique your curiousity!
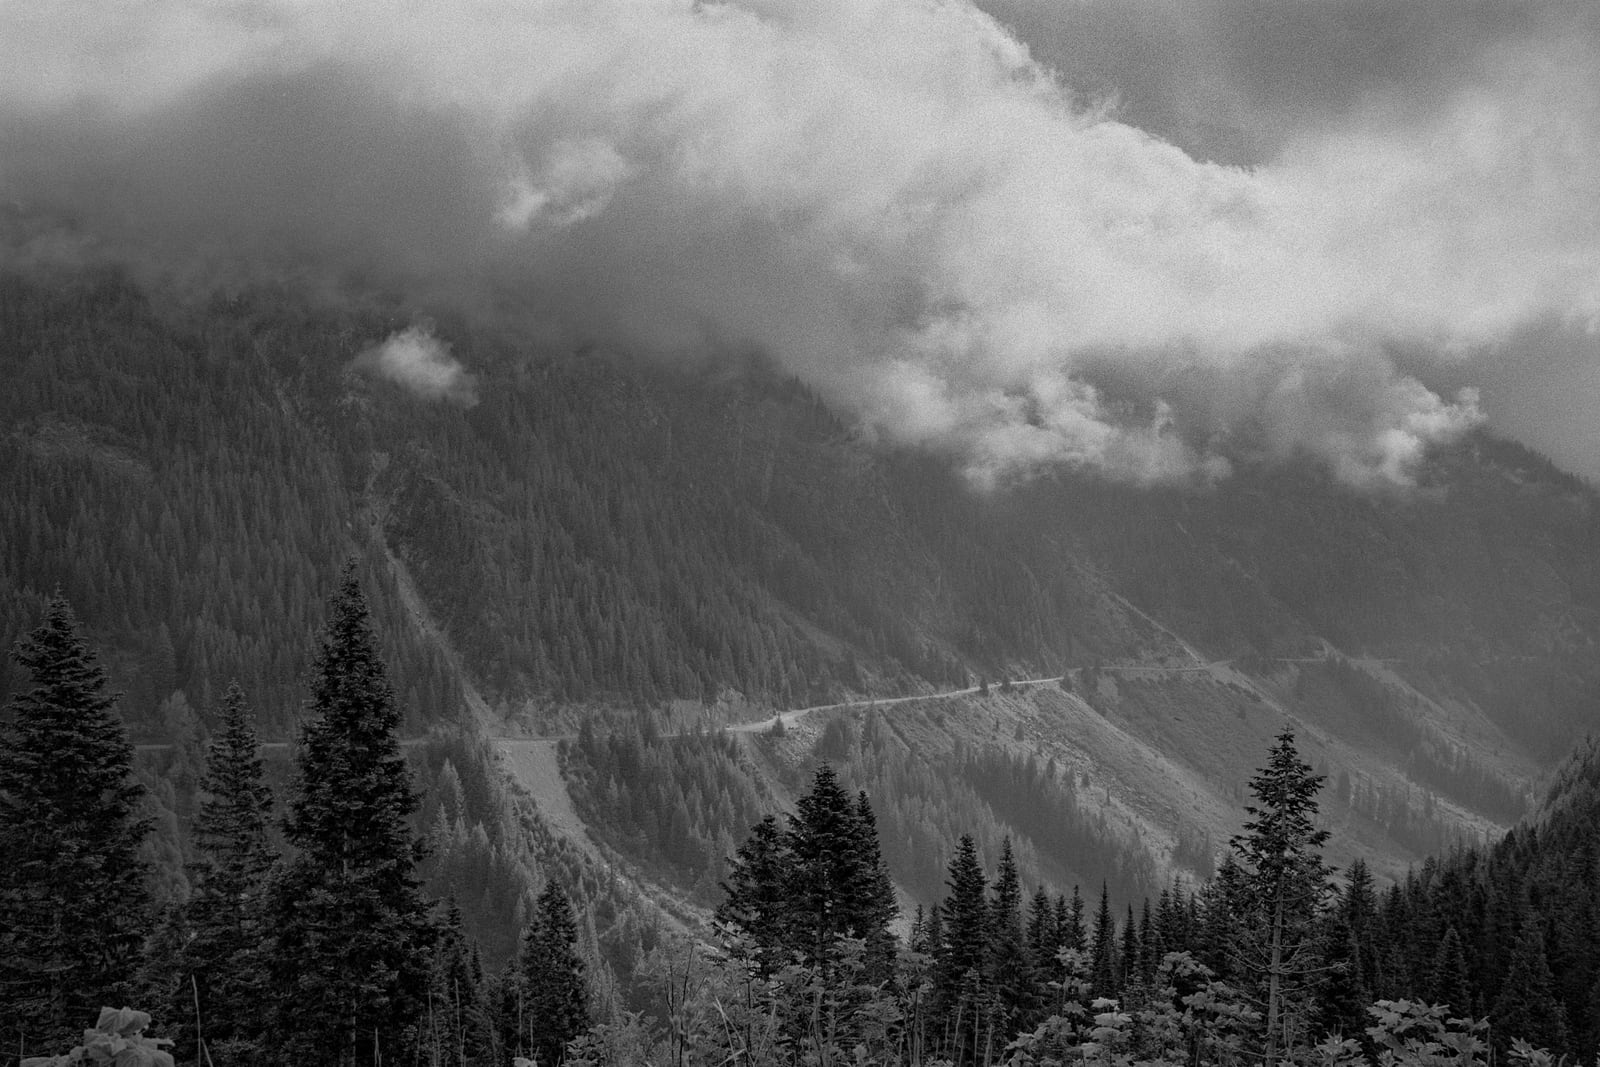
For developer, I use XTOL and I dilute it with water, 1:1 and always one shot it. I chose XTOL because it’s gives the good tonality (a pleasing and useful range of gray values), comparable to HC-110 but without the high price of HC-110. I wanted to pick something that I could use to push film and XTOL is one of the best choices for that. Pushing film means to shoot it at a higher ISO than it’s box speed, and compensate for it by developing it longer. It lets you get away with shooting film with less light than it’s designed to require, but you lose some tonality and get increased contrast. A lot of people do it intentionally as an artistic tool, but I mostly do it out of necessity because I’m shooting in a low light environment.
One of the nice perks about developing yourself is that you can push film to your hearts content, since it just means you have to adjust your development times. When I take film to a lab and ask them to push it for me, they typically charge a minimum of $5 extra for that service.
The problem with XTOL is that it comes in powder form and you have to make 5L of it all at once. Ideally you need a place to store all 5L and use it up before it expires, which is in roughly 6 months. I did something a little unconventional here and I split the powder into 2 and only made 2.5L. It’s not commonly done as a lot of people believe you can mess up the chemical composition by splitting it, but it’s worked really well for me so far. I’m still on my first batch though, so we’ll see once I run out and try to make a second batch if the second batch is also as good as the first. That will be the real test, I think.
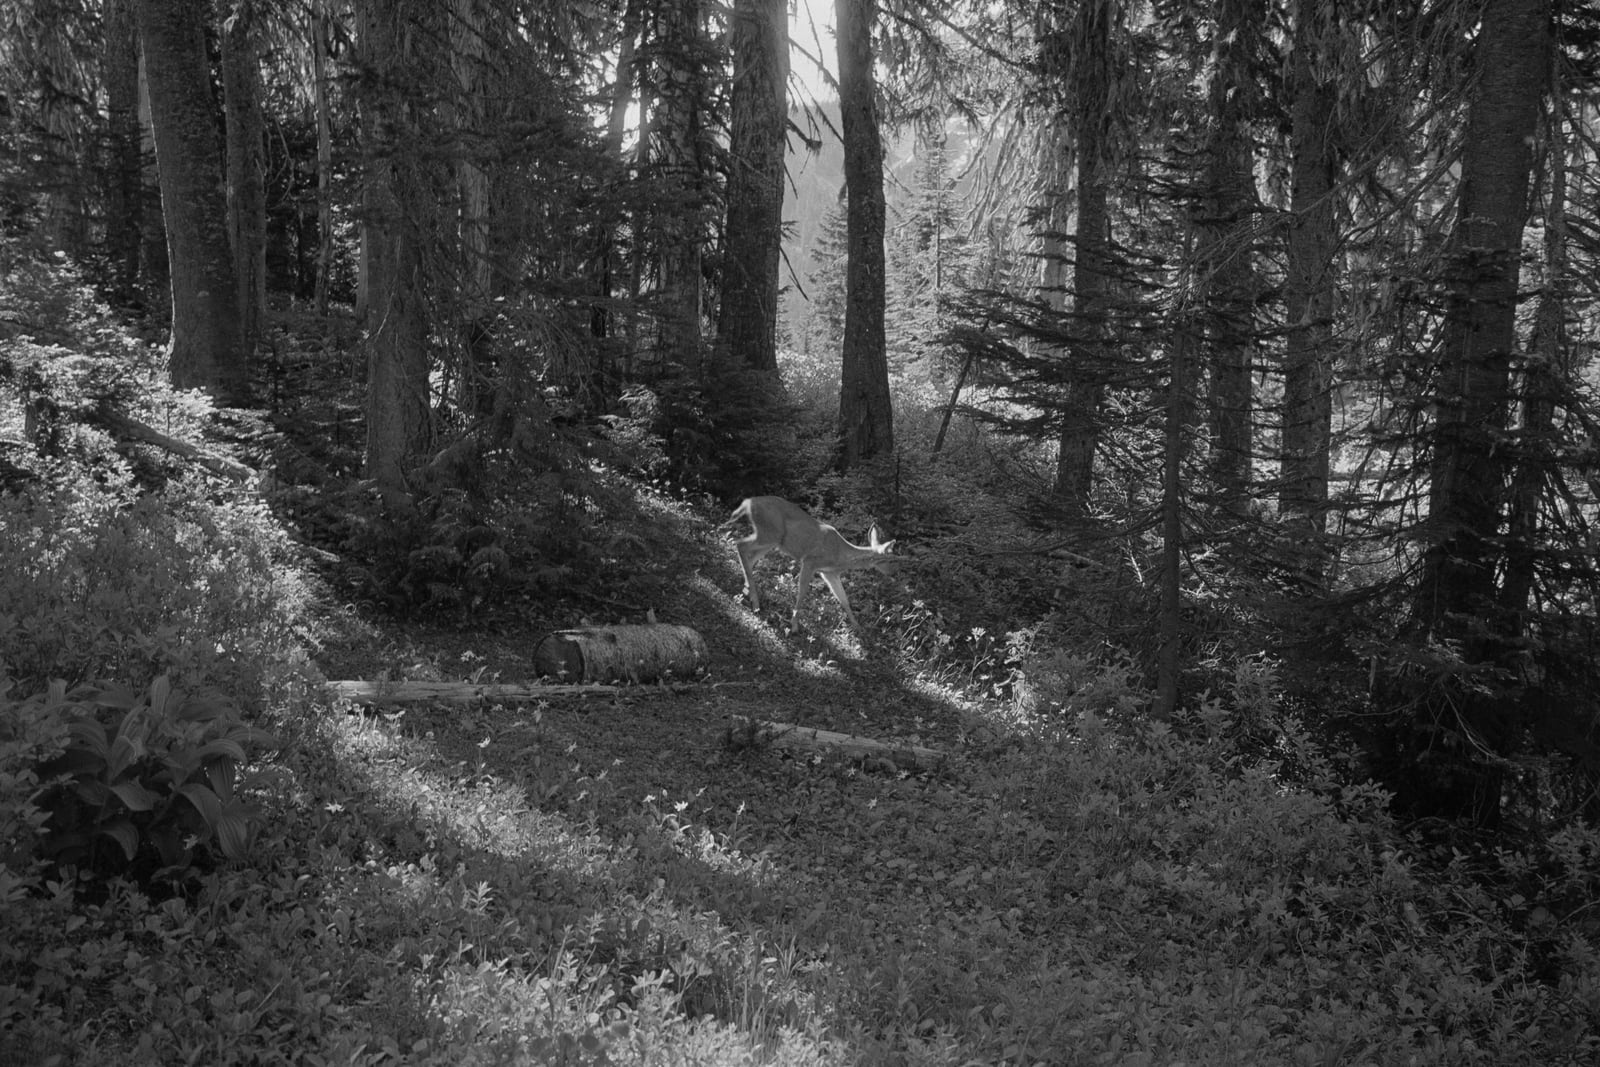
I choose the 1:1 dilution because it’s a one shot, which makes things simple. It means that I can make a diluted batch, use it once, and then throw it away. I don’t have to deal with adding it back into the original mixture, and continuously adding new solution to replenish my developer. I don’t want to have to worry about that.
So all my black and white films that you see so far has been developed with XTOL 1:1.
I would like to try another developer some day but I don’t develop enough to have two active developers at the same time. I barely shoot enough film to get through my first and only batch of developer I’ve made.
As I mentioned earlier, I used to have an ongoing battle with water stains on my negatives. They would show up on my film scan and drive me crazy. After experimenting, I’ve found a process that completely eliminates them for me.
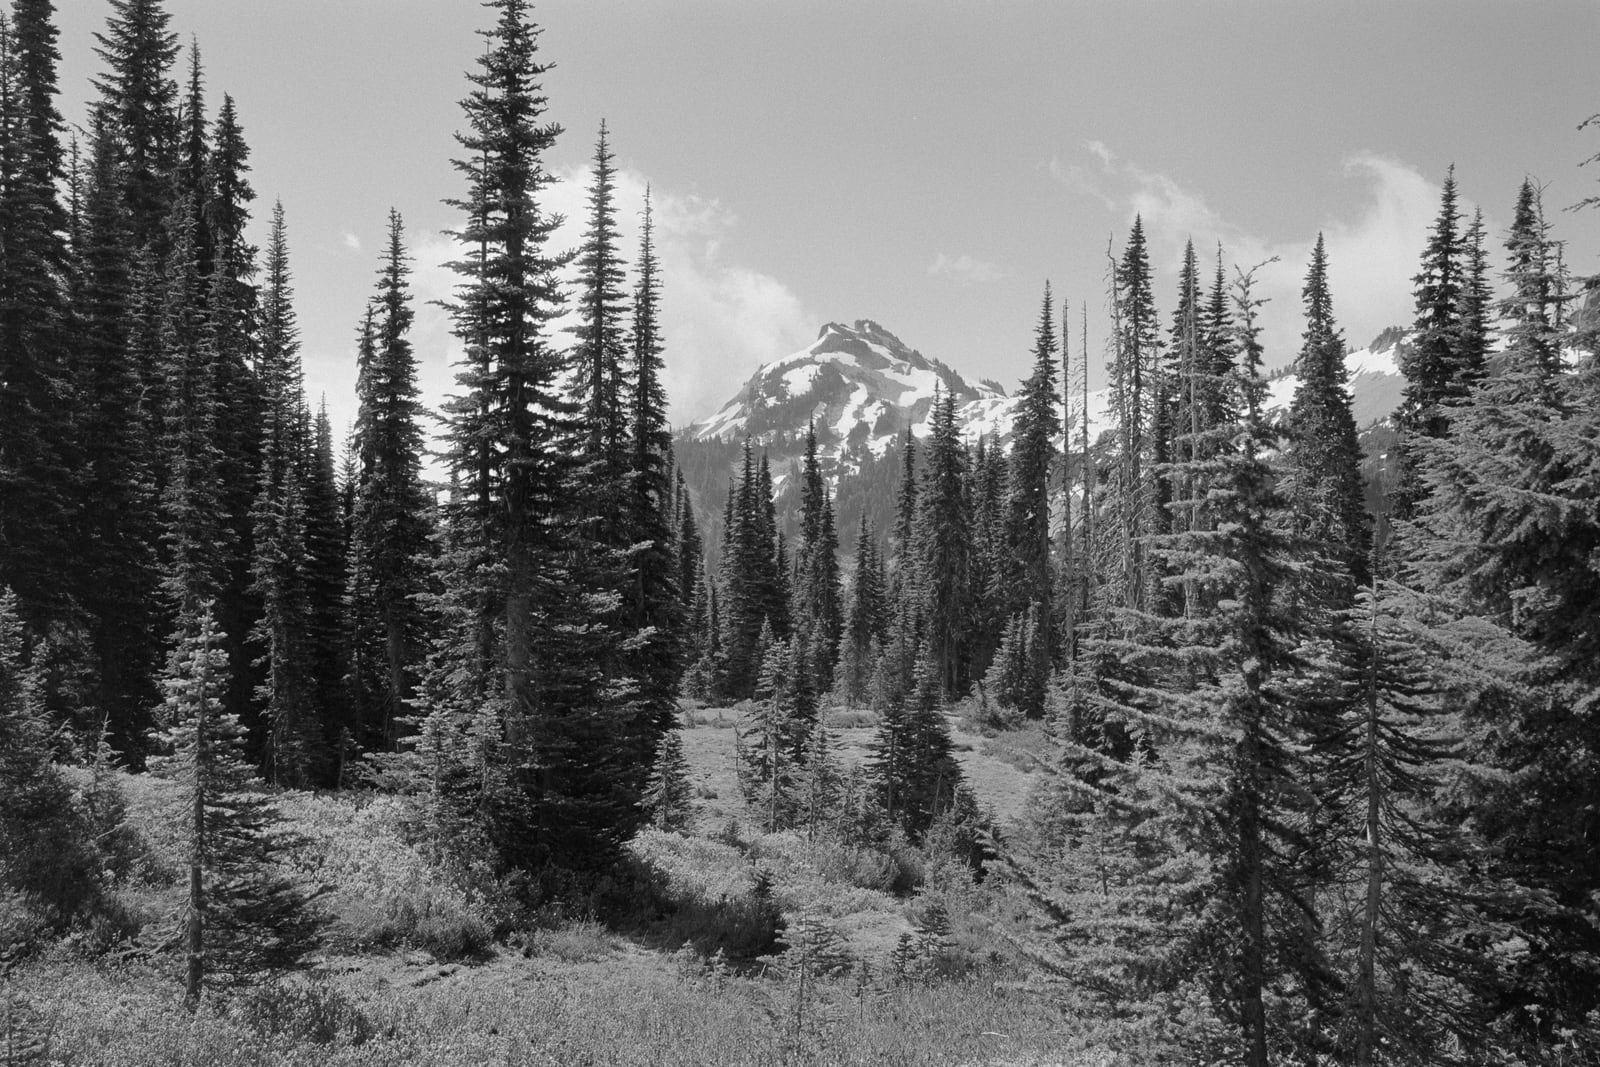
First of all I make sure to buy distilled water and use that to dilute my developer and fixer. I also do my second to last rinsing steps and my final rinse with distilled water. (I follow Ilford’s rinsing guide, which means you rinse the negative in 3 batches.) So that means I rinse the first two batches with normal tap water, and then the next two with distilled. When I am finished and take the negatives out of the film sleeve, I gently shake and flick away water. You want to avoid water pooling on the negative which is what causes the water marks. I also hold the film horizontally for a minute or two, to try and get water to go down towards the edge of the film. Then finally I hang it up vertically in my shower, and I dip my index and middle finger in the rinsing solution and gently squeegee the film all the way down.
And that’s it! Drying is pretty fast, maybe 2 hours, slightly longer in the winter. Then I immediately scan it and archive the negatives, to minimize dust buildup. So now you know my secret formula.